Newrelic插件使用(一) -- Nginx监控
https://www.hi-ruby.com/posts/1046
nginx-nr-agent, 为Nginx官方提供的NewRelic监控插件,可以很方便的对你的Nginx进行监控
本文对nginx-nr-agent的安装做一个概述
Demo环境:
Nginx
一个NewRelic账号
本文以 Ubuntu Server 11.04 为例
安装步骤
开启Nginx的stub_status
修改nginx-nr-agent配置文件
启动nginx-nr-agent服务
安装细节:
1. 安装nginx-nr-agent
1.1 添加key
wget -O- http://nginx.org/keys/nginx_signing.key | apt-key add -
1.2 添加以下源路径到/etc/apt/sources.lit,注意trusty指的是Ubuntu Server的版本,适当进行修改
deb http://nginx.org/packages/mainline/ubuntu/ trusty nginx
deb-src http://nginx.org/packages/mainline/ubuntu/ trusty nginx
1.3 安装
apt-get update
apt-get install nginx-nr-agent
2. 开启Nginx的stub_status
修改你的Nginx配置文件,添加以下配置:
location /nginx_stub_status {
    stub_status on;
    access_log  off;
    allow 192.168.1.0/24;
    allow 127.0.0.1;
    deny all;
}
让我们测试是否生效:
nginx -s reload
curl http://127.0.0.1/nginx_stub_status

# 正确的Output:
Active connections: 10
server accepts handled requests
 145118 145118 142466
Reading: 0 Writing: 10 Waiting: 0
3. 修改配置文件 /etc/nginx-nr-agent/nginx-nr-agent.ini, 主要修改两处:
3.1 newrelic_license_key, 置换成自己的key
3.2 添加data sources, 一个agent是可以监控多个源的
[source1]
name=dev01
url=http://127.0.0.1/nginx_stub_status
[source2]
name=dev02
url=http://SomeIP/nginx_stub_status
4. 启动nginx-nr-agent服务
service nginx-nr-agent start
稍等片刻应该可以在Newrelic上看到你的Nginx信息了
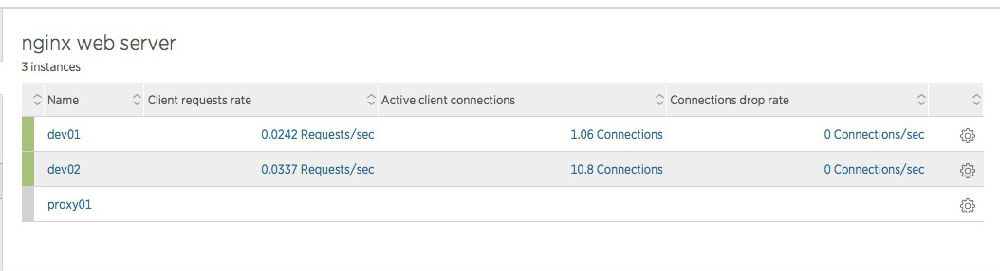
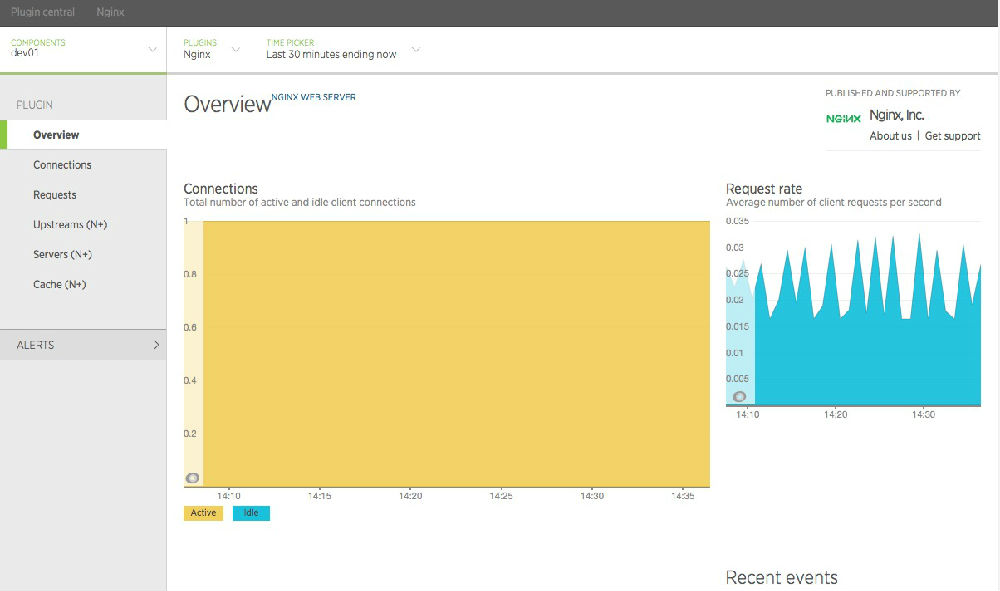
面注明(N+)的是NGINX Plus土豪版的,可以查看更多的监控信息
Upstreams (all upstream servers breakdown by state, upstream connections, bandwidth usage, response rate breakdown by HTTP status code, health checks status)
Virtual servers (request rate, response rate breakdown by HTTP status code, bandwidth usage)
Caches (cached/uncached response rate breakdown by cache status, traffic usage, on-disk cache storage, hit ratios)